Adding a Custom Location
To add a custom location to your account, you have multiple options.
While planning your trip
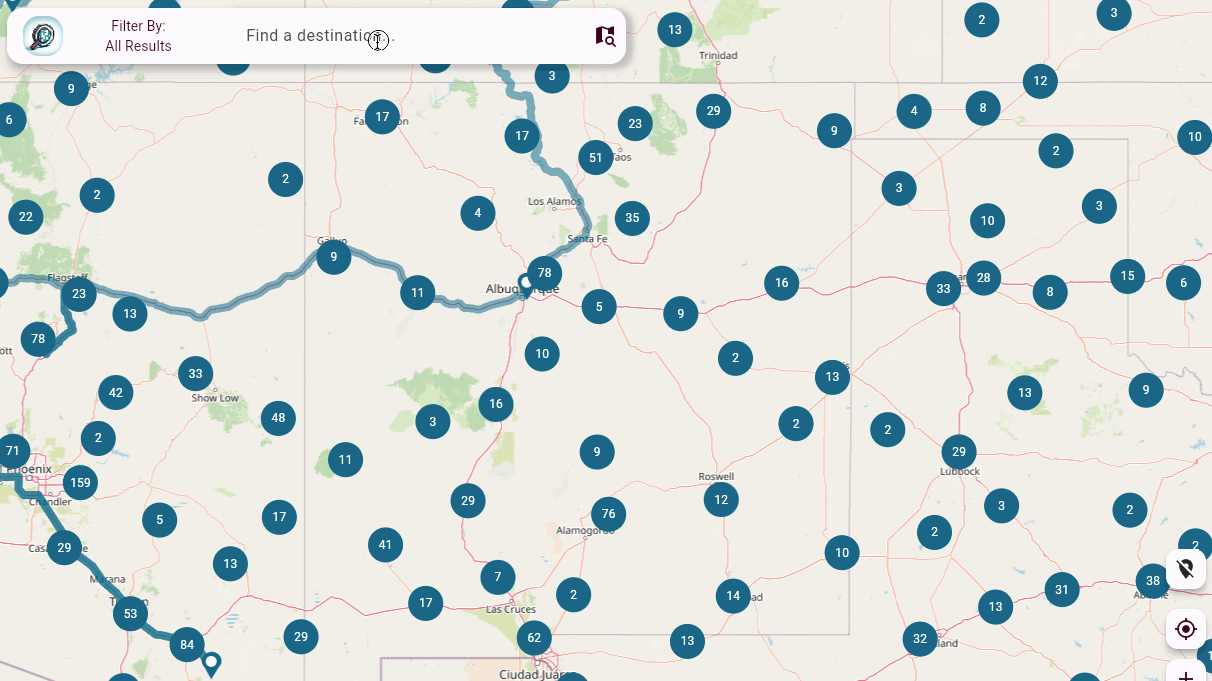
You can quickly create a custom location while planning your trip by searching for the desired address or GPS coordinates, and then adding that location to the current trip.
Searching for a custom location
To begin adding a custom location to your account while planning a trip, use the search bar to search for a location. This can be a GPS coordinate set, a landmark, or an address. In this example, we will use The White House as our custom location which has an address of:
1600 Pennsylvania Ave NW, Washington, DC 20500
Creating a custom location
Once you have searched for and identified a custom location you would like to
add to your account, the only way to create it while planning your trip is to
add it to the trip by clicking Add To Trip on the details card, or simply
dragging the card into your trip itinerary.
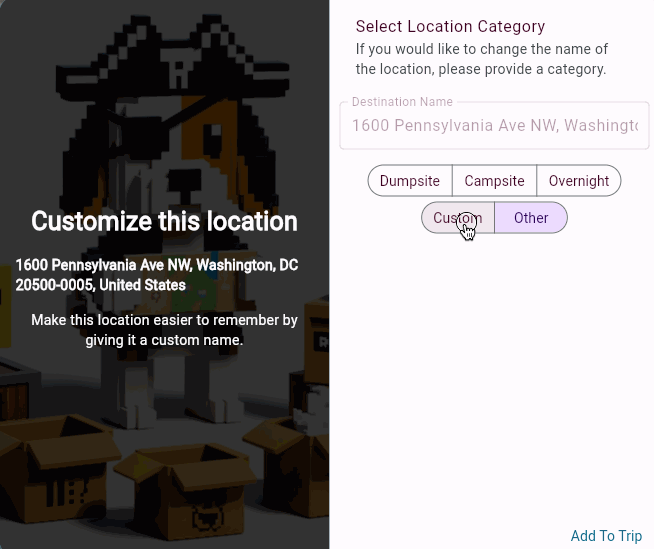
By adding this location to your card, you will be presented with a dialog to identify the type of location it is:
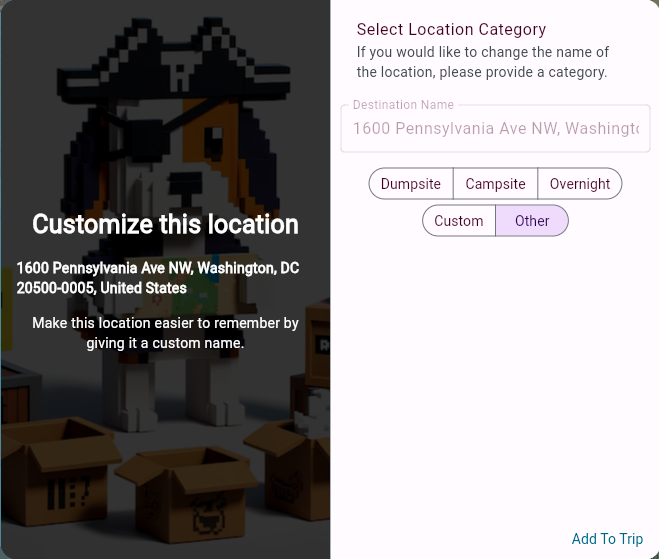
By default, this dialog is configured to add the location to this trip as a
one-off trip item, not saved to your account as a custom location. To convert
this item into a custom location, click the Custom button and give the location
a memorable name. In our case for this example, we will label The White House My Custom Location,
then click “Add to Trip” to add the newly-created custom location to our trip.
That’s it! Your custom location has now been created while planning the trip. In the future, you can simply search for this custom location by name and identify it on the map by its custom-location marker. See Using Custom Locations for more information.